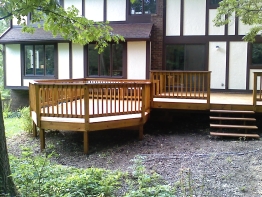
 We gave Steve and his crew a large, challenging job and their work exceeded our expectations in every way! Professional, polite, cleaned up, friendly with neighbors and did a beautiful job.
How to Prepare Your Walls for a Flawless Paint Job
Are your walls ready for a makeover?
Are you planning to refresh your home with a new coat of paint?
A flawless paint job doesn’t start with a brush—it starts with proper preparation. Skipping prep work can lead to uneven coverage, peeling paint, or a finish that doesn’t last. If you want smooth, professional-quality results, follow these steps before dipping your roller into the paint.
Step 1: Clear the Space and Protect Surfaces
Before starting any painting project, remove furniture and décor from the room or cover them with plastic sheets to protect against accidental splatters. Use painter’s tape to mask off trim, baseboards, and outlets for clean, crisp lines.
Step 2: Clean Your Walls Thoroughly
Dirt, dust, and grease can prevent paint from adhering properly. Use a mild detergent mixed with water to wipe down walls, especially in high-traffic areas like kitchens and hallways. For stubborn stains, a degreaser may be necessary. Allow the walls to dry completely before moving to the next step.
Step 3: Repair Any Wall Imperfections
Inspect your walls for cracks, holes, or dents. Fill small holes with spackle and use joint compound for larger imperfections. Once dry, sand the area smoothly to blend seamlessly with the rest of the wall. This step is essential for achieving a smooth finish.
Step 4: Sand and Prime for a Smooth Surface
Lightly sanding walls helps remove rough patches and ensures even paint application. If your walls have glossy paint, sanding is even more crucial for proper adhesion. Applying a high-quality primer is also recommended, especially for dark-colored walls, stains, or new drywall. Primer creates an even base and enhances the longevity of your paint job.
Step 5: Choose the Right Paint and Tools
Selecting the right type of paint and quality brushes or rollers makes a significant difference in the outcome. Consider the room’s function when choosing between matte, satin, or semi-gloss finishes. Investing in high-quality supplies will help ensure a professional result.
Step 6: Start with a Test Patch
Before committing to an entire wall, apply a test patch to check color accuracy and finish. Lighting conditions can affect how a color appears, so it's always best to test before painting the whole space.
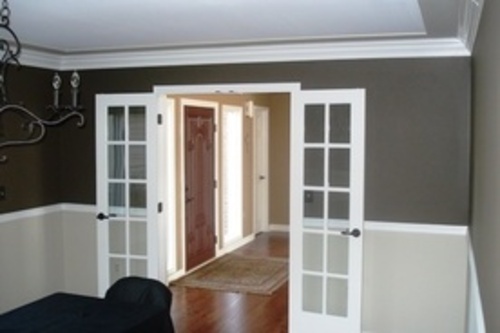
Ready to Transform Your Home? Residential Painting in Ann Arbor
Preparation is the key to achieving a flawless paint job that enhances your home’s beauty and value. By following these steps, you’ll create a professional-looking finish that lasts. If you're looking for expert help, our professionals specializing in residential painting in Ann Arbor can take the stress out of your project and deliver stunning results.
A fresh coat of paint can do wonders—so why not do it right? Work with our local pros to ensure no corners are cut on your project!